Grant available for insulation?
Find out instantly whether your property may be eligible for an insulation grant.



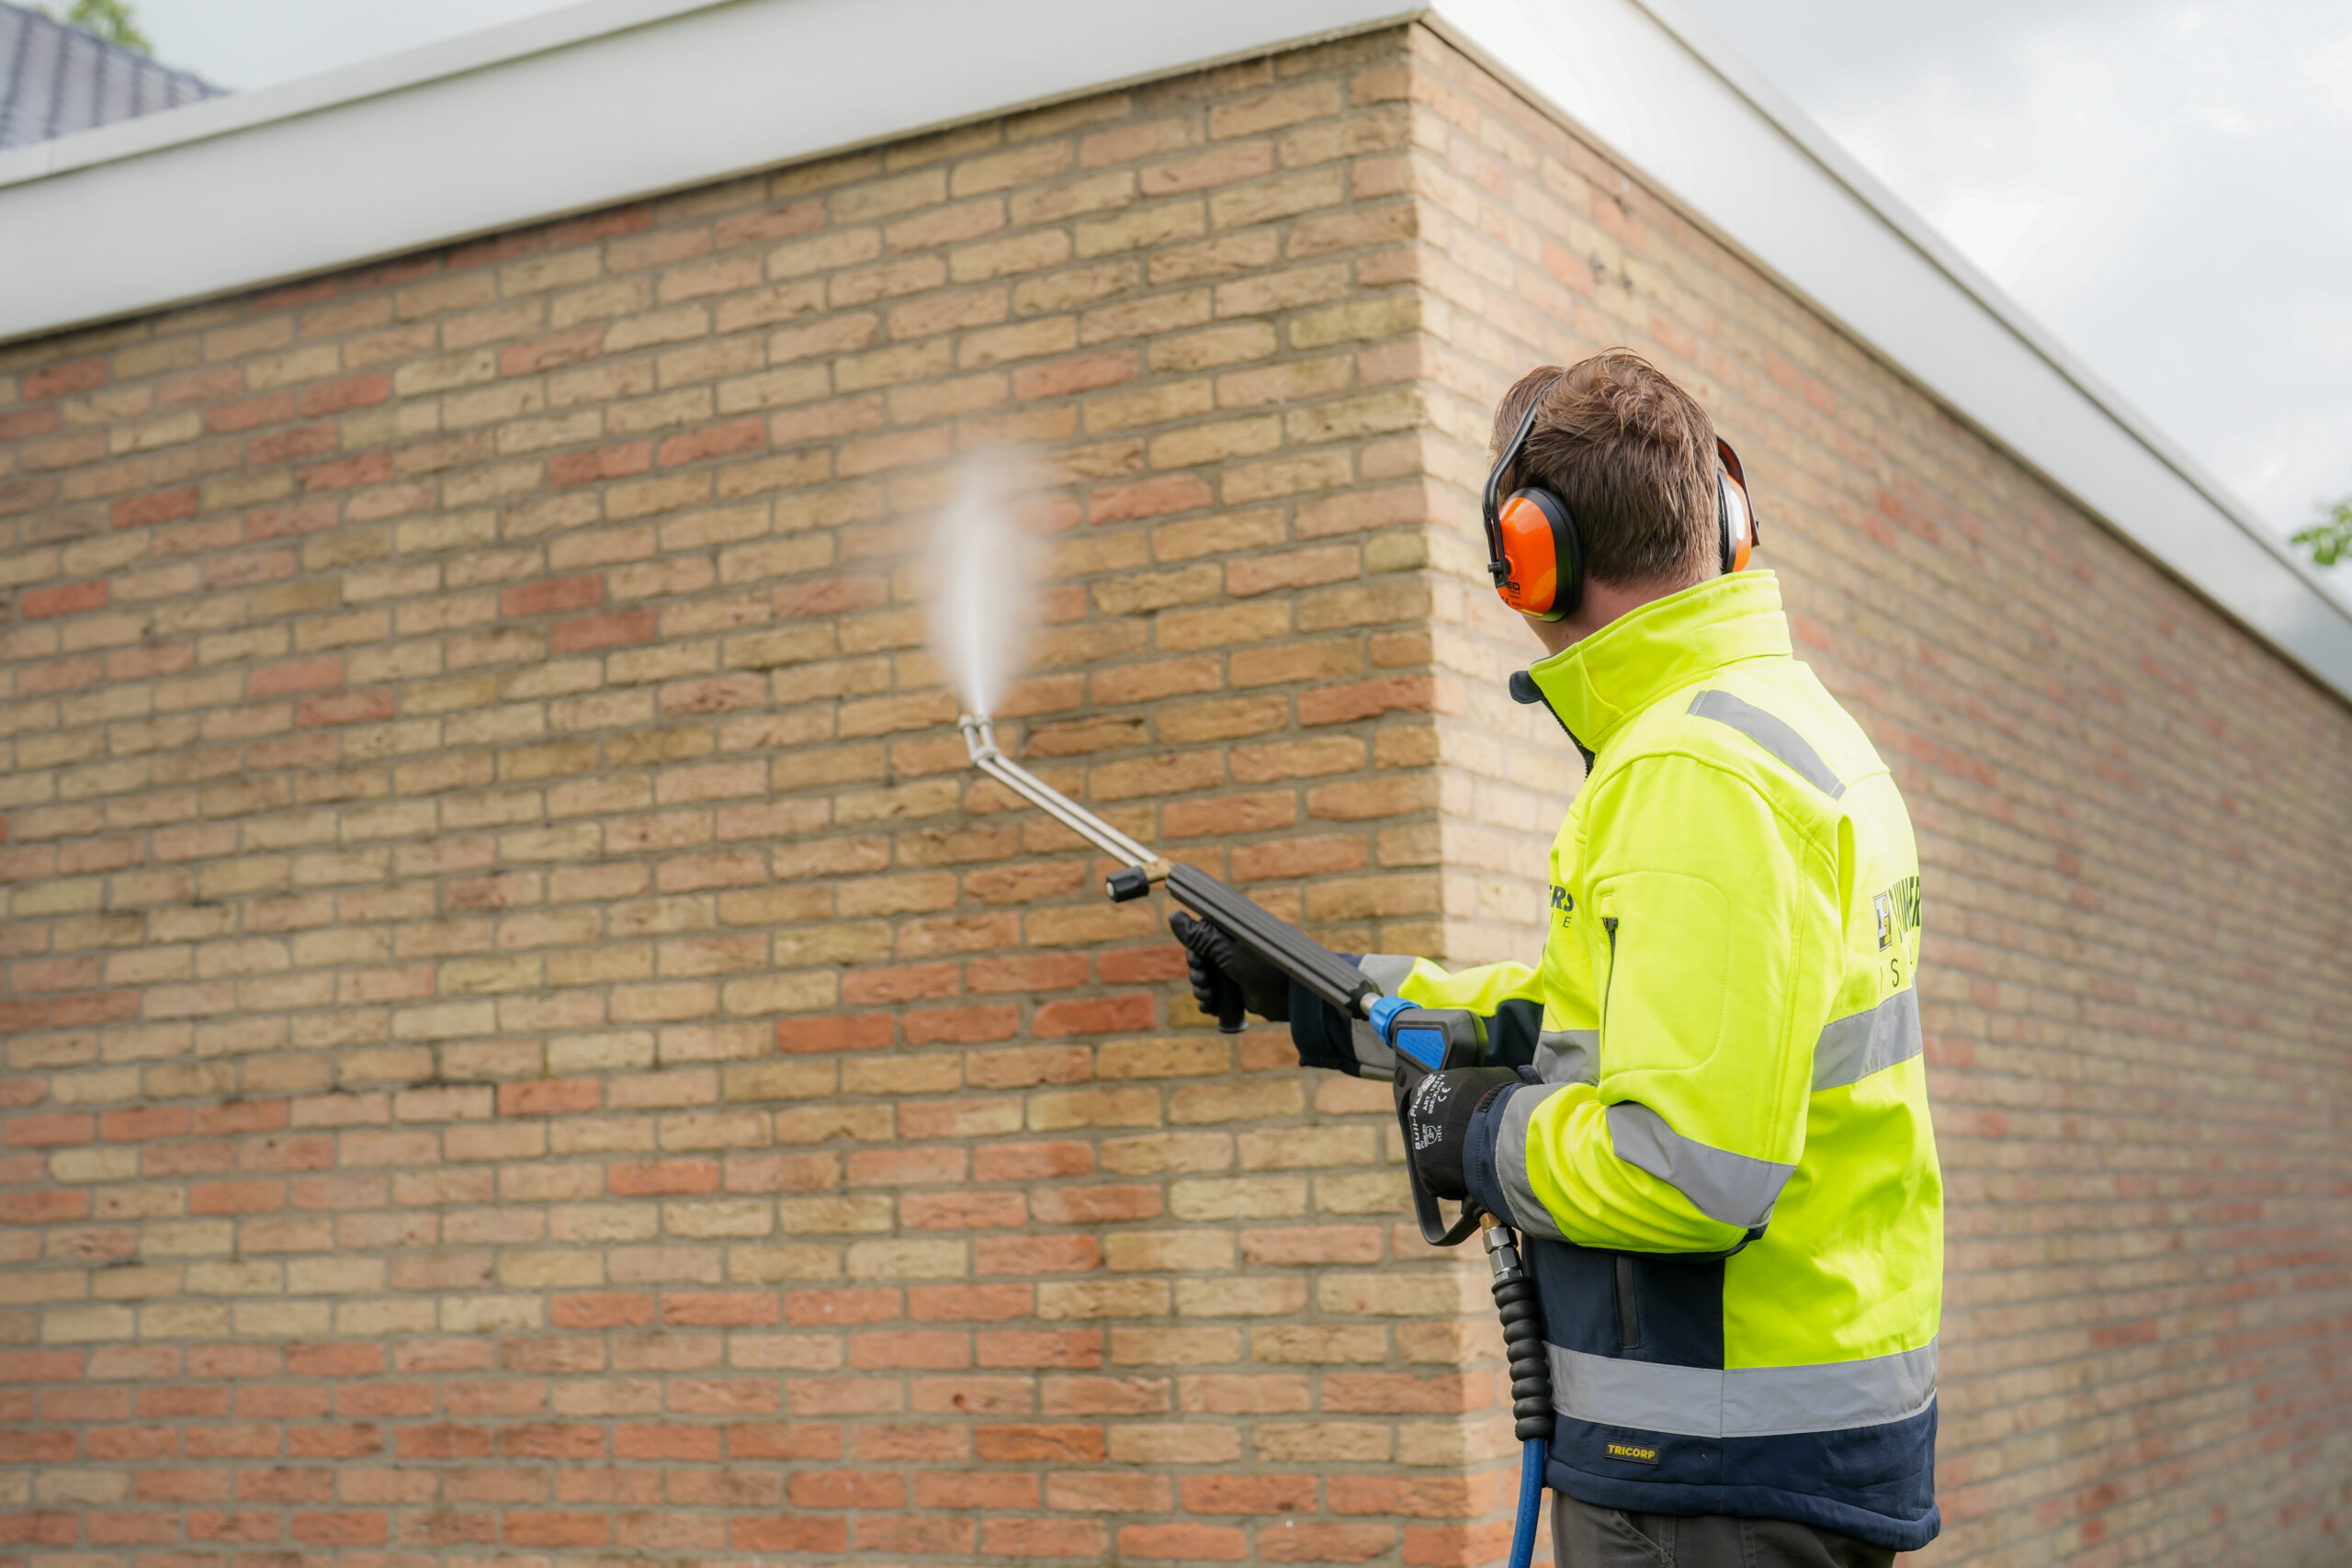
Invest in professional exterior wall cleaning with Pluimers’ high-pressure cleaning service. Not only will your home or commercial building maintain a clean, well-kept appearance, but you will also help extend the lifespan of your façade.
 alt=""/>
Find out instantly whether your property may be eligible for an insulation grant.
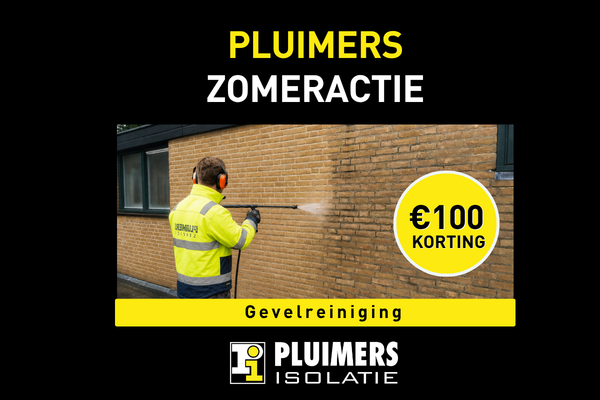
For a limited time during the Pluimers Summer Promotion, you’ll receive €100 off professional exterior wall cleaning. We remove dirt, algae and surface deposits from your façade, restoring a clean, well-maintained appearance to your home.
Our advisors will be happy to visit your property free of charge to assess the condition of your exterior walls and provide a tailored quotation.
*Offer valid until 23 September 2026. View the promotion terms and conditions.
In this video, we explain the steps involved in professionally cleaning your exterior walls:
Do you have a question or would you like to schedule a free, no-obligation consultation? You can contact us by phone or book an appointment using the consultation button.
Exterior wall cleaning is the process of cleaning the outside walls of a home or commercial building. Over time, these walls can become contaminated by dirt, staining, algae, moss, fungi, soot, paint or other forms of pollution. Continuous exposure to weather conditions and air pollution causes façades to deteriorate and become dirty.
Exterior wall cleaning is important both for maintaining the appearance of a property and for protecting the masonry from which the façade is constructed. The purpose of façade cleaning is to restore the appearance of the exterior walls while protecting the building against harmful contamination.
Exterior wall cleaning is the process of removing dirt, staining, moss, algae, soot, paint and other contaminants from the outside of a building. Over the years, façades can become heavily soiled due to weather conditions, air pollution and the natural growth of organisms such as algae, moss and fungi.
Several cleaning methods are available, depending on the façade material (brick, concrete, natural stone, metal, etc.) and the type of contamination:
Professional exterior wall cleaning restores a clean, well-maintained appearance while helping to extend the lifespan of the façade by removing harmful contaminants. To complete the treatment, the façade is always impregnated or hydrophobically treated afterwards, providing additional long-term protection.
High-pressure façade cleaning is a technique in which water is applied under high pressure to remove dirt and deposits from exterior walls. This method is highly effective for removing stubborn contamination such as dust, dirt, moss, algae and soot. It is particularly suitable for durable façade materials such as brick, concrete and paving.
Water is applied using professional high-pressure equipment. The pressure is adjusted according to both the level of contamination and the type of façade material. The powerful water jet loosens dirt and deposits, allowing them to be washed away. Where necessary, specialist cleaning products are added to improve the cleaning process, particularly when grease or other difficult contaminants are present.
A beautifully cleaned façade also requires mortar joints that are in good condition. Sound pointing gives a façade a far better appearance than cracked, damaged or worn joints. Mortar joints are not only decorative but also protect the masonry from the weather.
If mortar joints deteriorate, moisture can penetrate the brickwork and, in severe cases, even reach the internal walls, resulting in damp problems inside the property.
By cleaning the façade, repairing damaged joints and finally applying a hydrophobic treatment, the exterior walls become resistant to weather and moisture while significantly extending their service life.
Maintaining healthy mortar joints is essential for preserving the quality of the façade. Over time, cracks and damage can develop, making joint repairs necessary. Under normal circumstances, mortar joints typically have an expected lifespan of approximately 30 to 50 years, depending on the property’s location and exposure to weather conditions.
In addition to regular façade maintenance, it is important that cavity wall ties remain in good condition. During cavity wall inspections, we assess the condition of the existing wall ties. At Pluimers Insulation, we can replace deteriorated wall ties with new renovation wall ties where required.
Thor Helical renovation wall ties are specially designed metal fixing systems used in construction and renovation projects, particularly to resolve structural issues in masonry buildings. Their unique helical design provides exceptional strength and flexibility. They are commonly used to repair cracks, stabilise walls and securely connect different parts of a building without the need to dismantle the existing masonry.
These wall ties are widely used in historic buildings, residential properties and other structures where preserving the original masonry is of great importance.
Installing Thor Helical renovation wall ties follows a structured process and requires specialist equipment to ensure the wall ties are correctly anchored within the masonry. The typical installation procedure is outlined below.
In many situations, a specialist mortar or epoxy resin is injected into the drilled hole to create an even stronger bond between the wall tie and the surrounding masonry. This is particularly beneficial when the existing masonry has become weakened or damaged.
These steps are repeated wherever additional renovation wall ties are required, depending on the size of the building and the extent of any structural instability.
The installation process is quick and efficient while causing minimal disruption to the existing masonry. This makes Thor Helical renovation wall ties particularly suitable for historic buildings and other sensitive structures where preserving the original fabric of the building is essential.
Source: Thor Helical
Regular maintenance is essential to ensure that cavity wall insulation continues to perform effectively over the long term and to prevent potential problems. Below are the key maintenance points to consider.
Insulation thickness: If your cavity wall insulation was installed more than 20 years ago, it is advisable to check whether the insulation still completely fills the cavity. Over time, some insulation materials may settle, potentially leading to heat loss and condensation problems.
We recommend carrying out regular inspections and maintenance around your property. This helps maintain the effectiveness of your cavity wall insulation while preventing unnecessary heat loss and more serious problems in the future.
Request your free consultation and quote today!
Call us directly or request your free quote online using the "free quote" button.
Our insulation advisor will be happy to visit you for a free, no-obligation consultation.
Yes, I'd like a free consultation!